How to install a heating mat?
It is easy to install Comfort Heat mats in a new or renovated house or apartment. Please note that all electrical works must be carried out by a qualified electrician.
It is easy to install Comfort Heat mats in a new or renovated house or apartment. Please note that all electrical works must be carried out by a qualified electrician.
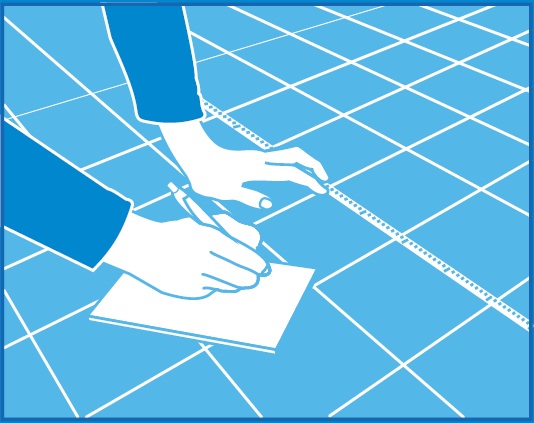
Measure the floor area free from furniture or equipment for a heating mat installation. The heating mat should be slightly smaller than the measured heating area (sq.m). Mark the places of bathroom equipment or furniture (toilets, showers) and do not install the heating mat under them. Then you will avoid heating mat damage while installing bathroom equipment.

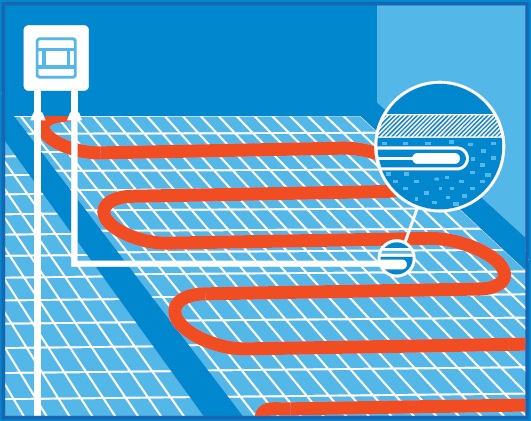
Cut or carve a groove (10 × 10 mm) in the wall and floor towards the thermostat connection box. Insert the thermostat sensor into the tube and place it into the groove. Seal the end of the tube to avoid the concrete or tile adhesive entering.

Before installation of the heating mat, clean the floor, check the resistance of the mat, heating mat resistance must be the same as indicated on the label.
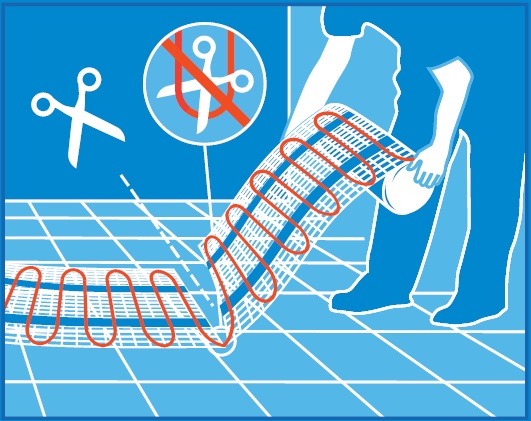
Begin laying the heating mat from one wall and move towards the opposite wall. To turn and go back, cut the heating mat mesh, avoid damaging the red cable. Repeat this process until the entire surface is covered.
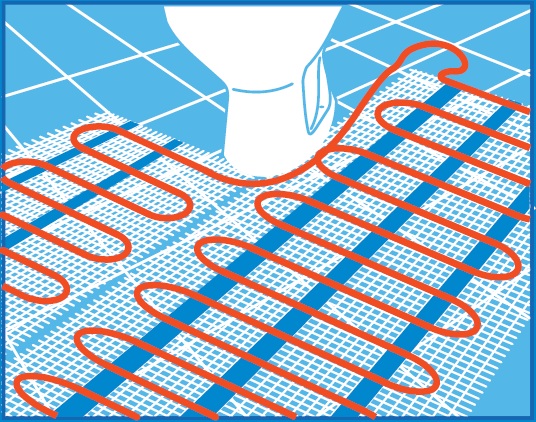
To turn the mat around obstacles, you need to loosen the heating cable from the mesh. Do not damage the red heating cable!
The tiles can be glued on top of the installed heating mat in two ways: apply the tile adhesive and then glue the tiles or cover the heating mat with self-levelling compound, let it dry and then glue the tiles.